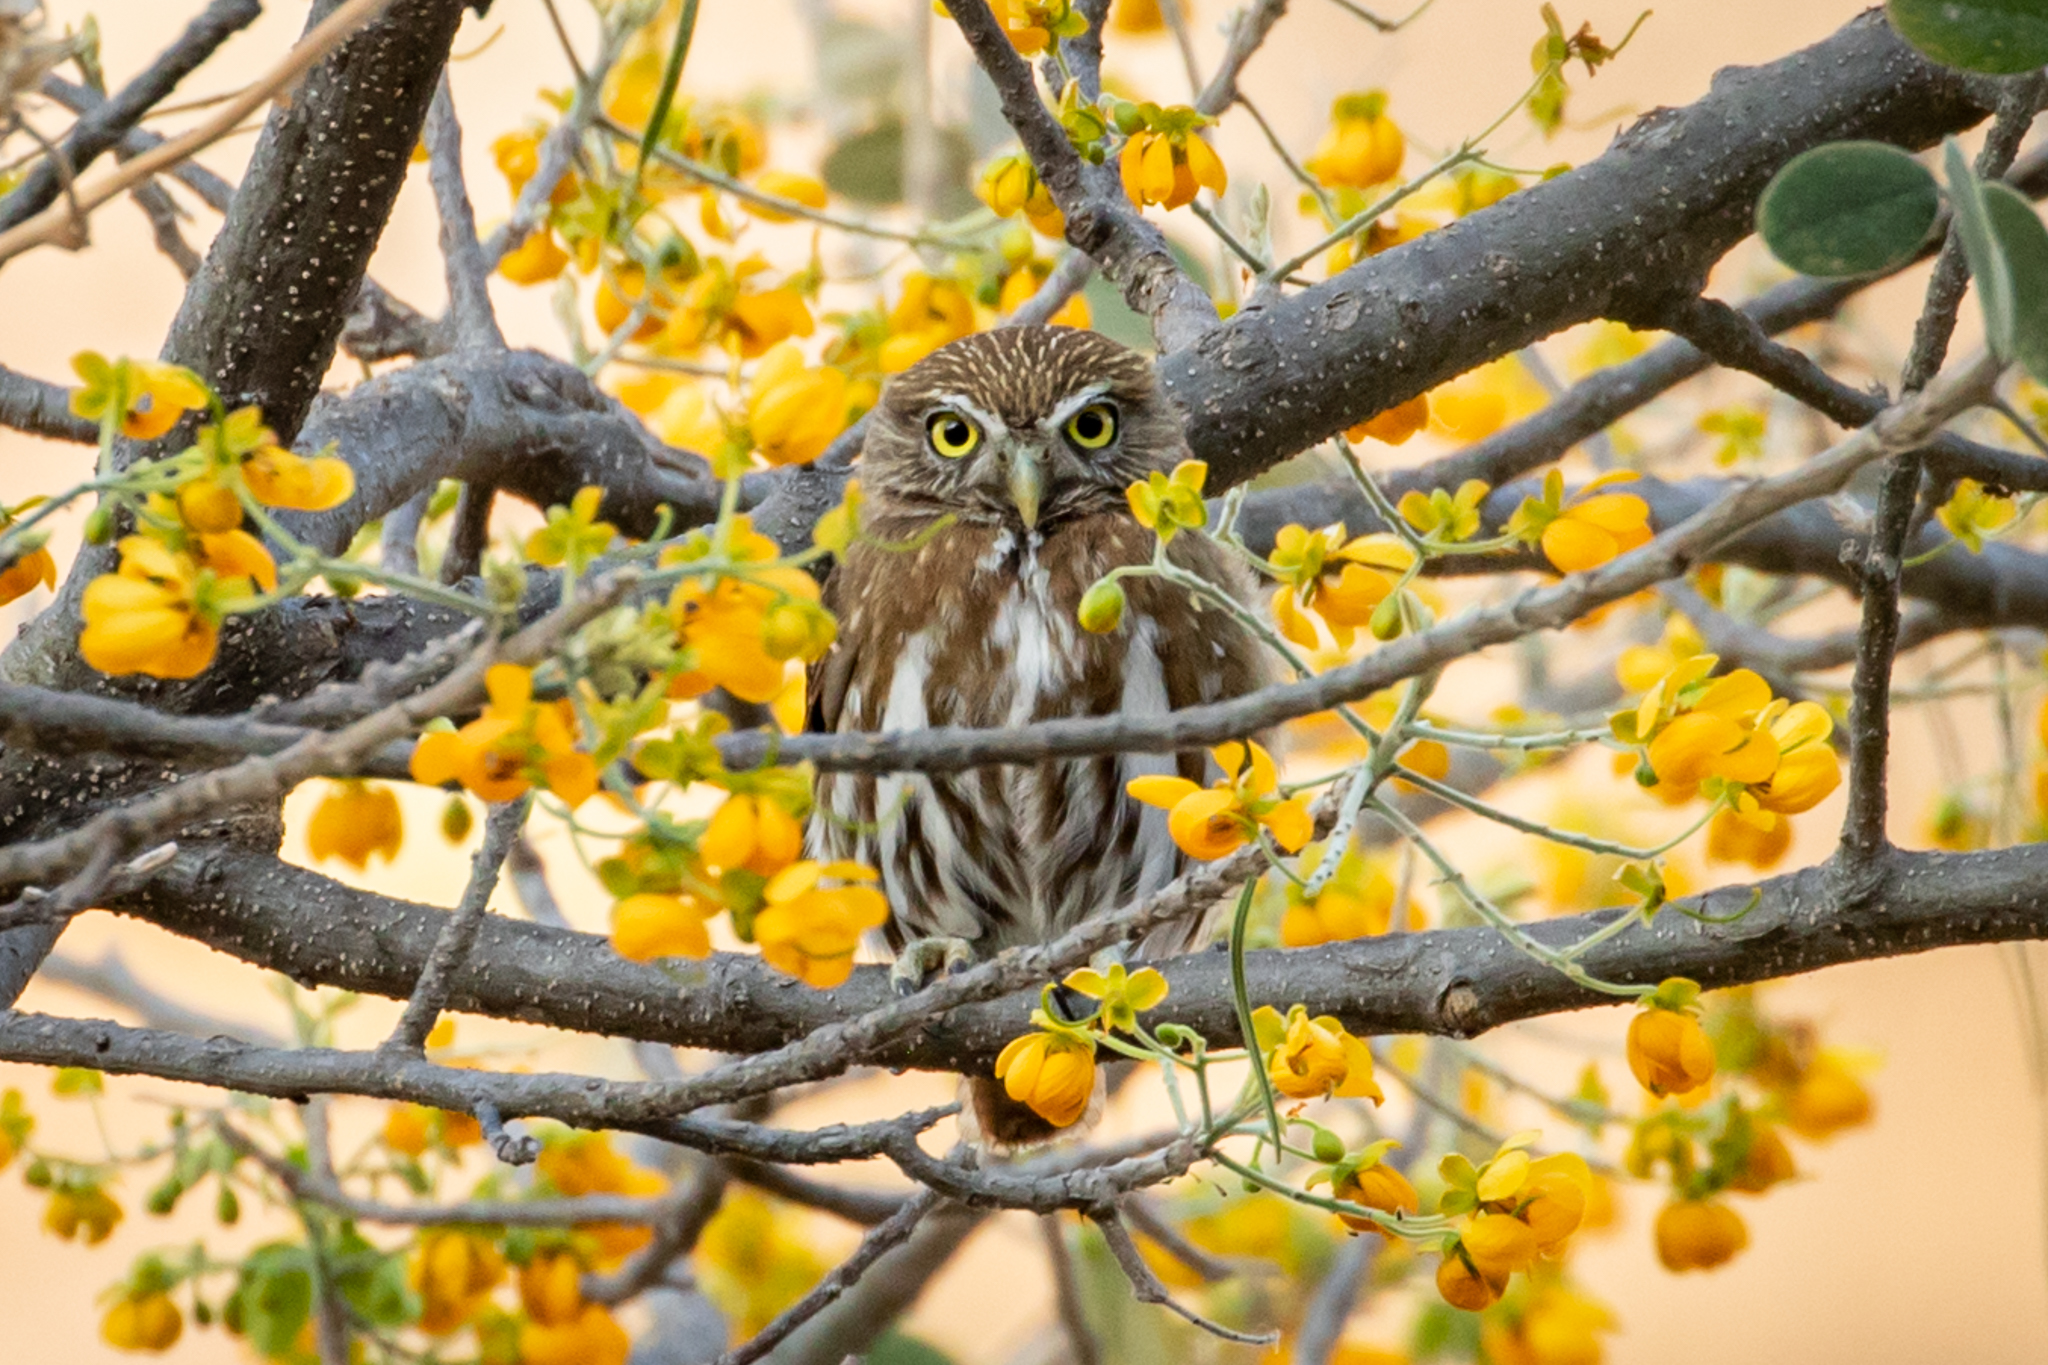
I have had the opportunity to go on seven birding trips out of the U.S. (Thailand, Mexico, Panama, Jamaica, Chile and Argentina, Canadian Rockies, Costa Rica). If you’ve never been on an extended birding trip here are tips on how to get the most enjoyment from the trip.
1. Be Ready For The Trip
Get familiar with the birds beforehand
When going on a birding trip it’s easy to think that the guide will ID all the birds for you – that’s their job – however you should take some responsibility for learning about some of the birds beforehand – particularly the most common ones. Before my first birding trip (Thailand) my study group went through a field guide and reviewed over 1,000 species – overwhelming! Now I review the field guides and look at the families of birds I’m unfamiliar with. I also do searches like, “Common birds in Chile” and “Must-see birds in northern Argentina”. This way I’ll be able to recognize some birds without the guide’s help – complete unfamiliarity means the guide is repeatedly identifying common birds for you rather than looking for new species.
Physical Fitness
Another aspect of preparation is that you need to be in reasonable physical shape. Piling in and out of the van 10 times a day, standing motionless for 20 minutes or more, walking down a steep, uneven steep path and just being up at 4:30 AM and birding till 6-9 PM some days requires a fairly fit body and stamina. Anyone who has difficulty walking or standing for long periods of time should realize that they will miss opportunities to see birds during the trip, or worse yet, limit the group’s access to some locations. Read the trip materials carefully before signing up to see what level of physical activity is expected of participants, and don’t sign up if you’re not up to it.
Bring a Water Bottle
Ask the guide to get a big jug of water to refill you water bottle. Otherwise the empty plastic bottles pile up (2 bottles/day X 10 days X 8 participants = 160 bottles).
Bring a stool
My wife Karen’s back will bother her if we stand too long in one place, waiting for that special bird to pop out. She brings along a tri-legged foldable stool she can sit and uses it as a walking stick.
2. On the Trip: Working with a Professional Guide
We’ve all been on bird walks led by a local volunteer who knows the area. For the points below I’ll refer to Dave, who was our Field Guide professional guide in Thailand. Dave said that this was his twentieth tour in Thailand so he knew where to look and what to look for. Here are some things I leaned about working with a Professional Bird Guide like Dave:
Different Guides – Similar Rules
It goes without saying that every guide will operate differently but in general each guide has similar expectations, such as:
- Be on time – don’t hold up the group.
- Don’t go ahead of the guide – Photographers in particular will try and get a better angle or go ahead to see the next bird. Guides want you behind them so they can spot the next bird and/or you don’t flush a bird away from the group.
- When the guide stops, you stop – When the guide stops he/she may have seen a bird move and if everyone keeps walking they could flush the bird. Often the guide will stop to hear a bird; you should stop too (to reduce the noise of shoes on the ground) and you should be quiet to give the guide the best opportunity to ID the bird.
It’s all about birds
Unless otherwise stated, these trips are about the birds, and it’s the guide’s job to find them. As many Lifer birds as possible. People pay good money to see the birds and some don’t want to take time away from birding to visit a cultural site or to have a leisurely lunch. Some birding trips do allot time for cultural excursions or non-birding activities so read the trip description carefully to find out if this an “only birds” trip or not.
The guide will see more birds than you, Part 1
Dave (thankfully) provided an eBird Checklist to us after birding each location. Because he always saw and heard more birds than me, I always had to delete many species from the checklist. Tip: Check right away if your guide will be providing eBird checklists. If not, you should create your own for each location (you should download the eBird/Merlin pack for the region you are visiting before leaving home).
The guide will see more birds than you, Part 2
Dave’s job after spotting a bird was to help the group see it, too. This was harder than it sounds. He could give an accurate description of where to look, but sometimes I still couldn’t see the bird. Being a yard or two away from Dave changed my perspective enough so that I couldn’t look where he was directing. So one piece of advice is to stay near the guide (with the caveat that you shouldn’t do it all the time, which I’ll cover later).
The guide will see more birds than you, Part 3
There was nothing more frustrating to me than having the guide point out a bird and having all of my companions see it, and I couldn’t. A couple of takeaways from this. First, it’s your right and responsibility to tell the guide you haven’t seen the bird. Yes, it’s a little embarrassing to admit to the group you can’t see what they seemed to find easily, but I got over it. Second, it’s not the responsibility of the other members of your group to help you find the bird. They each have their own agenda (to find Lifers, to take pictures) and they may not want to take time to help you see it. Third, don’t get frustrated if you miss seeing a bird – more than likely you’ll see it later. In Thailand I didn’t see 46 species the first time they were spotted, but eventually did.
You must use precise descriptions in your “what and where”
When there are many birds around you, the guide may be focused on one or two species that might be Lifers but you will see other birds in a different direction and want to know what they are. In order to do so you must give accurate instructions (location and prominent field marks) on where to look for the bird you’re seeing.
The guide knows the “good” birds
When seeing several birds at the same time, pay attention to the bird the guide is focused on. The guide knows which birds you should see. Otherwise you may miss a unique bird while looking at a common bird.
3. Unwritten Rules While On A Birding Trip
Going on an extended birding trip with a professional guide is different in many ways from a bird walk with a local volunteer. Below are some of the unwritten rules for these trips.
Rotate Seats
Every drive is an opportunity to see birds on the road ahead or flying by, but the people seated in the front have better opportunities because they can see out the front windshield. Also they can quickly exit the van while those in back have to wait their turn. If you are in the same van as the guide, you have the benefit of hearing their observations, asking him/her questions, and knowing what to expect before those in the other van (if traveling in multiple vans). In Thailand we rotated which van we were in and rotated which row of seats we sat in each day. In Chile/Argentina we only had one van but we still rotated seats every day.
Rotate on the Trail
The guide is always in the lead. When the guide spots a bird you have a much lower chance of seeing that bird if you are at the end of the line. Of course everyone wants to be close to the guide so we rotate our position. Don’t be one of those who must always be right by the guide up front – give others that opportunity.
Look Through the Scope Quickly
If the guide finds a bird that is so far away it’s only viewable through a scope the group queues up for a look. In a group of ten, if each person takes only 7 seconds at the scope it would take over a minute before the last person in line has their turn, and chances are the bird would have flown by then. I tried to limit myself to 3-4 seconds at the scope. That’s a short amount of time to claim a Lifer, but others want that same Lifer, too.
Queue Courtesy is Nice, But it May Cost You
On the trail, when Dave would announce he had a bird lined up in the scope people would begin to queue up. My natural tendency was to invite the ladies to go ahead of me. Or when one of the guys had that one of those, “I’ve GOT to see this Lifer” look in their eyes I would let them go ahead of me. As previously stated, the farther back in the queue you put yourself, the less likely the bird will be in the scope when you get there. You have as much of a right to see the bird as the others – get in line quickly.
Be On Time
Anyone who has been on a group tour knows how important it is for everyone to be on time. Delaying the group could cost the group Lifers.
4. Tips for Photographing Birds On An Extended Birding Trip
Unless otherwise stated, bird photography is not a priority on most trips. Here are items specific to bird photographers:
Since it’s all about the Lifers, This Reduces the Opportunity to Photograph Birds
The birding tour’s goal is to see as many birds (and Lifers) as possible. This means that there isn’t much time to pause along the way to get a good shot of a bird. See a bird then move on to the next bird. During these trips, If I lingered just a couple of minutes to take pictures I found myself alone and behind the group as it traveled onward.
If you stop to take pictures, you’ll probably miss a Lifer (or two or three). When there were a lot of birds around us in Thailand, Dave would be pointing here and there and ticking off the species rapidly. To pause and photograph one bird means missing other birds. I developed an attitude of “Look first and shoot later.” When the guide spots a bird I look with my binoculars first and then try and take a picture.
Should You Bring a Tripod or Monopod?
I personally find that bringing a tripod or monopod out on the trail is cumbersome, but Emil always has his tripod and Bonnie and Mike usually have their Monopods. Tripods help keep the camera steady, which results in sharper pics (particularly in the tropics when the canopy blocks the sun and slower shutter speeds are needed). The monopod supports the camera’s weight when taking multiple shots of birds (I can hold up my camera up for a couple of minutes at best before my arms get fatigued). The downside of using a tripod or monopod is that you may miss shots. The tripod or monopod may limit you from shooting birds that are high or low. On extended walks the camera is often detached from the support to make it easier to walk down the trail, but when a bird appears it takes a few seconds to attach the camera to the head and the bird could be gone by the time the camera is set up. I also feel that tripods and monopods work better in areas with fewer obstructions, where there’s room to setup and the subject is out in the open. In the tropics, like Costa Rica, there may not be room on the trail for the supports and the birds are often obscured by branches and leaves so you have to move your camera around quickly to find a window through the foliage to the bird. In some respects the answer comes down to quality or quantity. I want pics of as many birds as possible so I don’t us a support. Emil wants quality shots so he uses his tripod most of the time.
Know your camera
If you bought a new camera just before the trip, learn as much as you can about it. I was at the Visitor Center in the Serengeti and a guy with a camera walked up to me exasperated – he couldn’t find the images he had taken on his new camera. I took a look and somehow he had reformatted his SIM card, wiping out all his pics.
Take notes of what you shoot
When the guide identifies the species of a bird I’ve taken a picture of there is no way I am going to remember it three weeks later when I begin my post-processing. Using a reporter’s notepad I write down the species of every bird I see and then bullet every one I photograph. Writing down all the species helps me amend my eBird checklists to remove species the guide saw but I missed. I also write down the time and/or location (i.e. 9:40, Ranch) along the way so I can easily compare my notes to the timestamped images back home (in order to do this, adjust your camera’s clock to local time).
Prepare Your Camera Each Night
Each night recharge your batteries (be sure to bring an electrical converter for the country you are visiting) and check how many shots are left on your SIM card. I regularly rotate my four SIM cards so if something happens to one of them at least the other three will still have some pictures of the trip.
Bring Extras In Your Pocket
Put an extra battery and SIM card in your pocket (or fanny-pack) so when you get out of the van you have them handy. On our last trip we were far away from the van and one of the other participants (with the same make camera as mine) came dashing up to see if I had an extra battery because his just quit. I gave him my extra to use until we got back to the van.
Have your camera ready. Always.
One time we were getting out of the van at our lunch stop and Emil asked me why I was bringing my camera to lunch? I replied that I always have my camera because you never know what’s going to show up. I got this shot in Thailand behind a gas station.
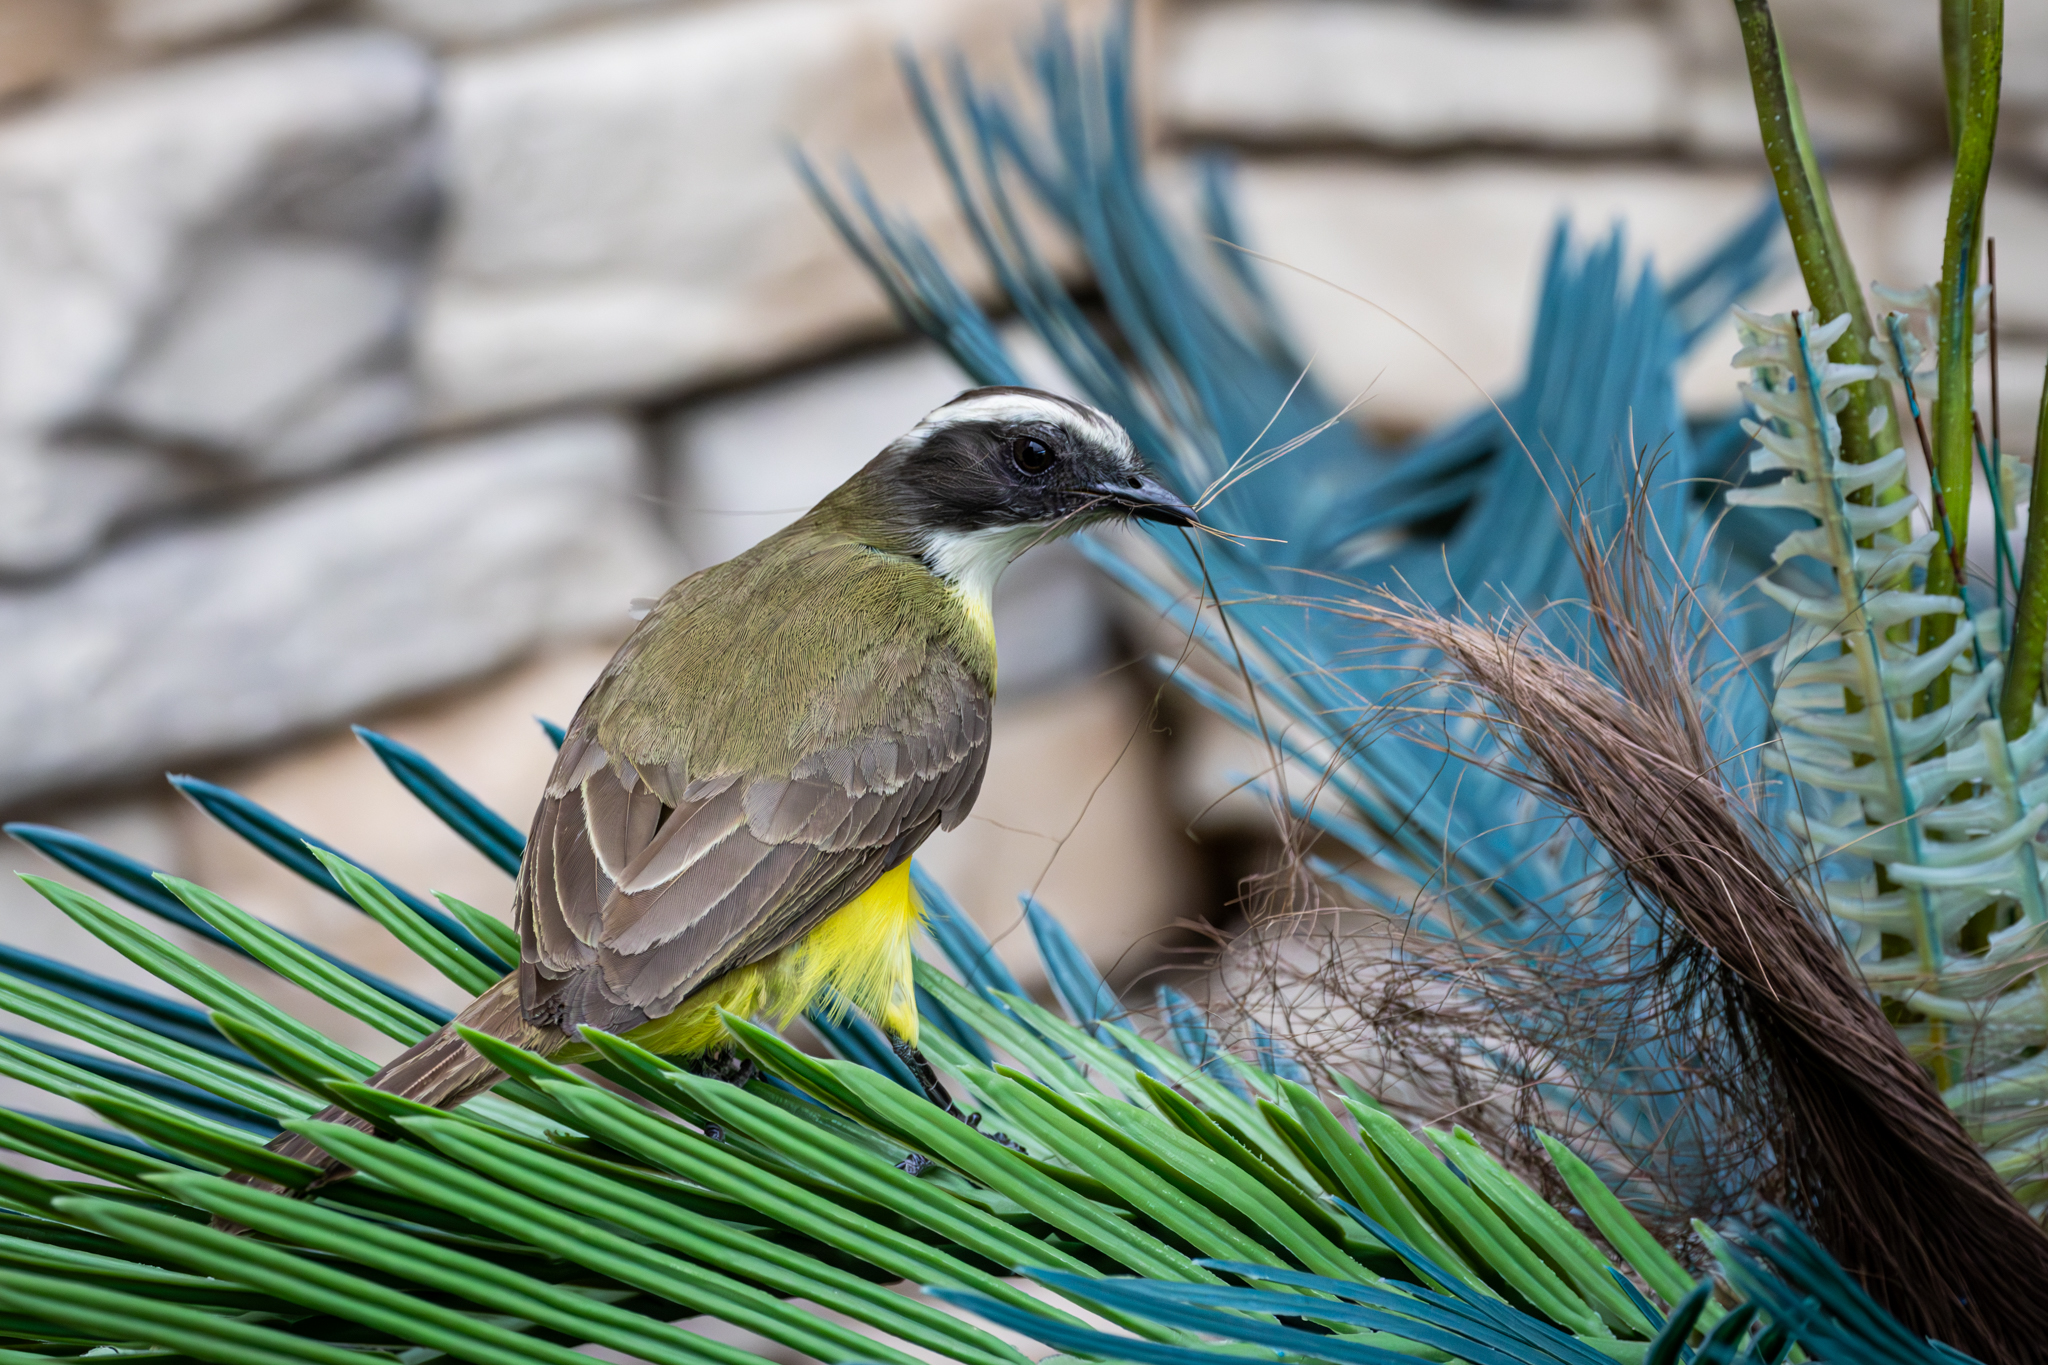
I took my camera into the souvenir shop we stopped at on the way to the airport in Costa Rica. While standing outside the restrooms a Costa Rican gentleman tapped me on the arm and pointed toward the corner, where this Social Flycatcher was collecting nesting materials. I was the only person in the group that had a camera.
Shooting From The Van
Sometimes the van pulls over next to a bird (or Rhea, or fox) and you have no choice – you have to shoot from inside the van. This is far less than ideal as the windows are usually tinted and dusty/dirty. See if it’s OK to open a window to get a clearer shot (be aware that opening the window may obscure someone else’s view). I believe that if the van is running while you are shooting it jiggles the camera enough to slightly blur your shots. Try to arrange it with the guide and driver to shut off the van when pictures are being taken.
Everyone May Not Want To See Your Pictures
After piling back into the van, the photographers check their images. It’s tempting to show others your good shots, but be mindful they may not be interested.
Don’t Just Take Pictures of Birds
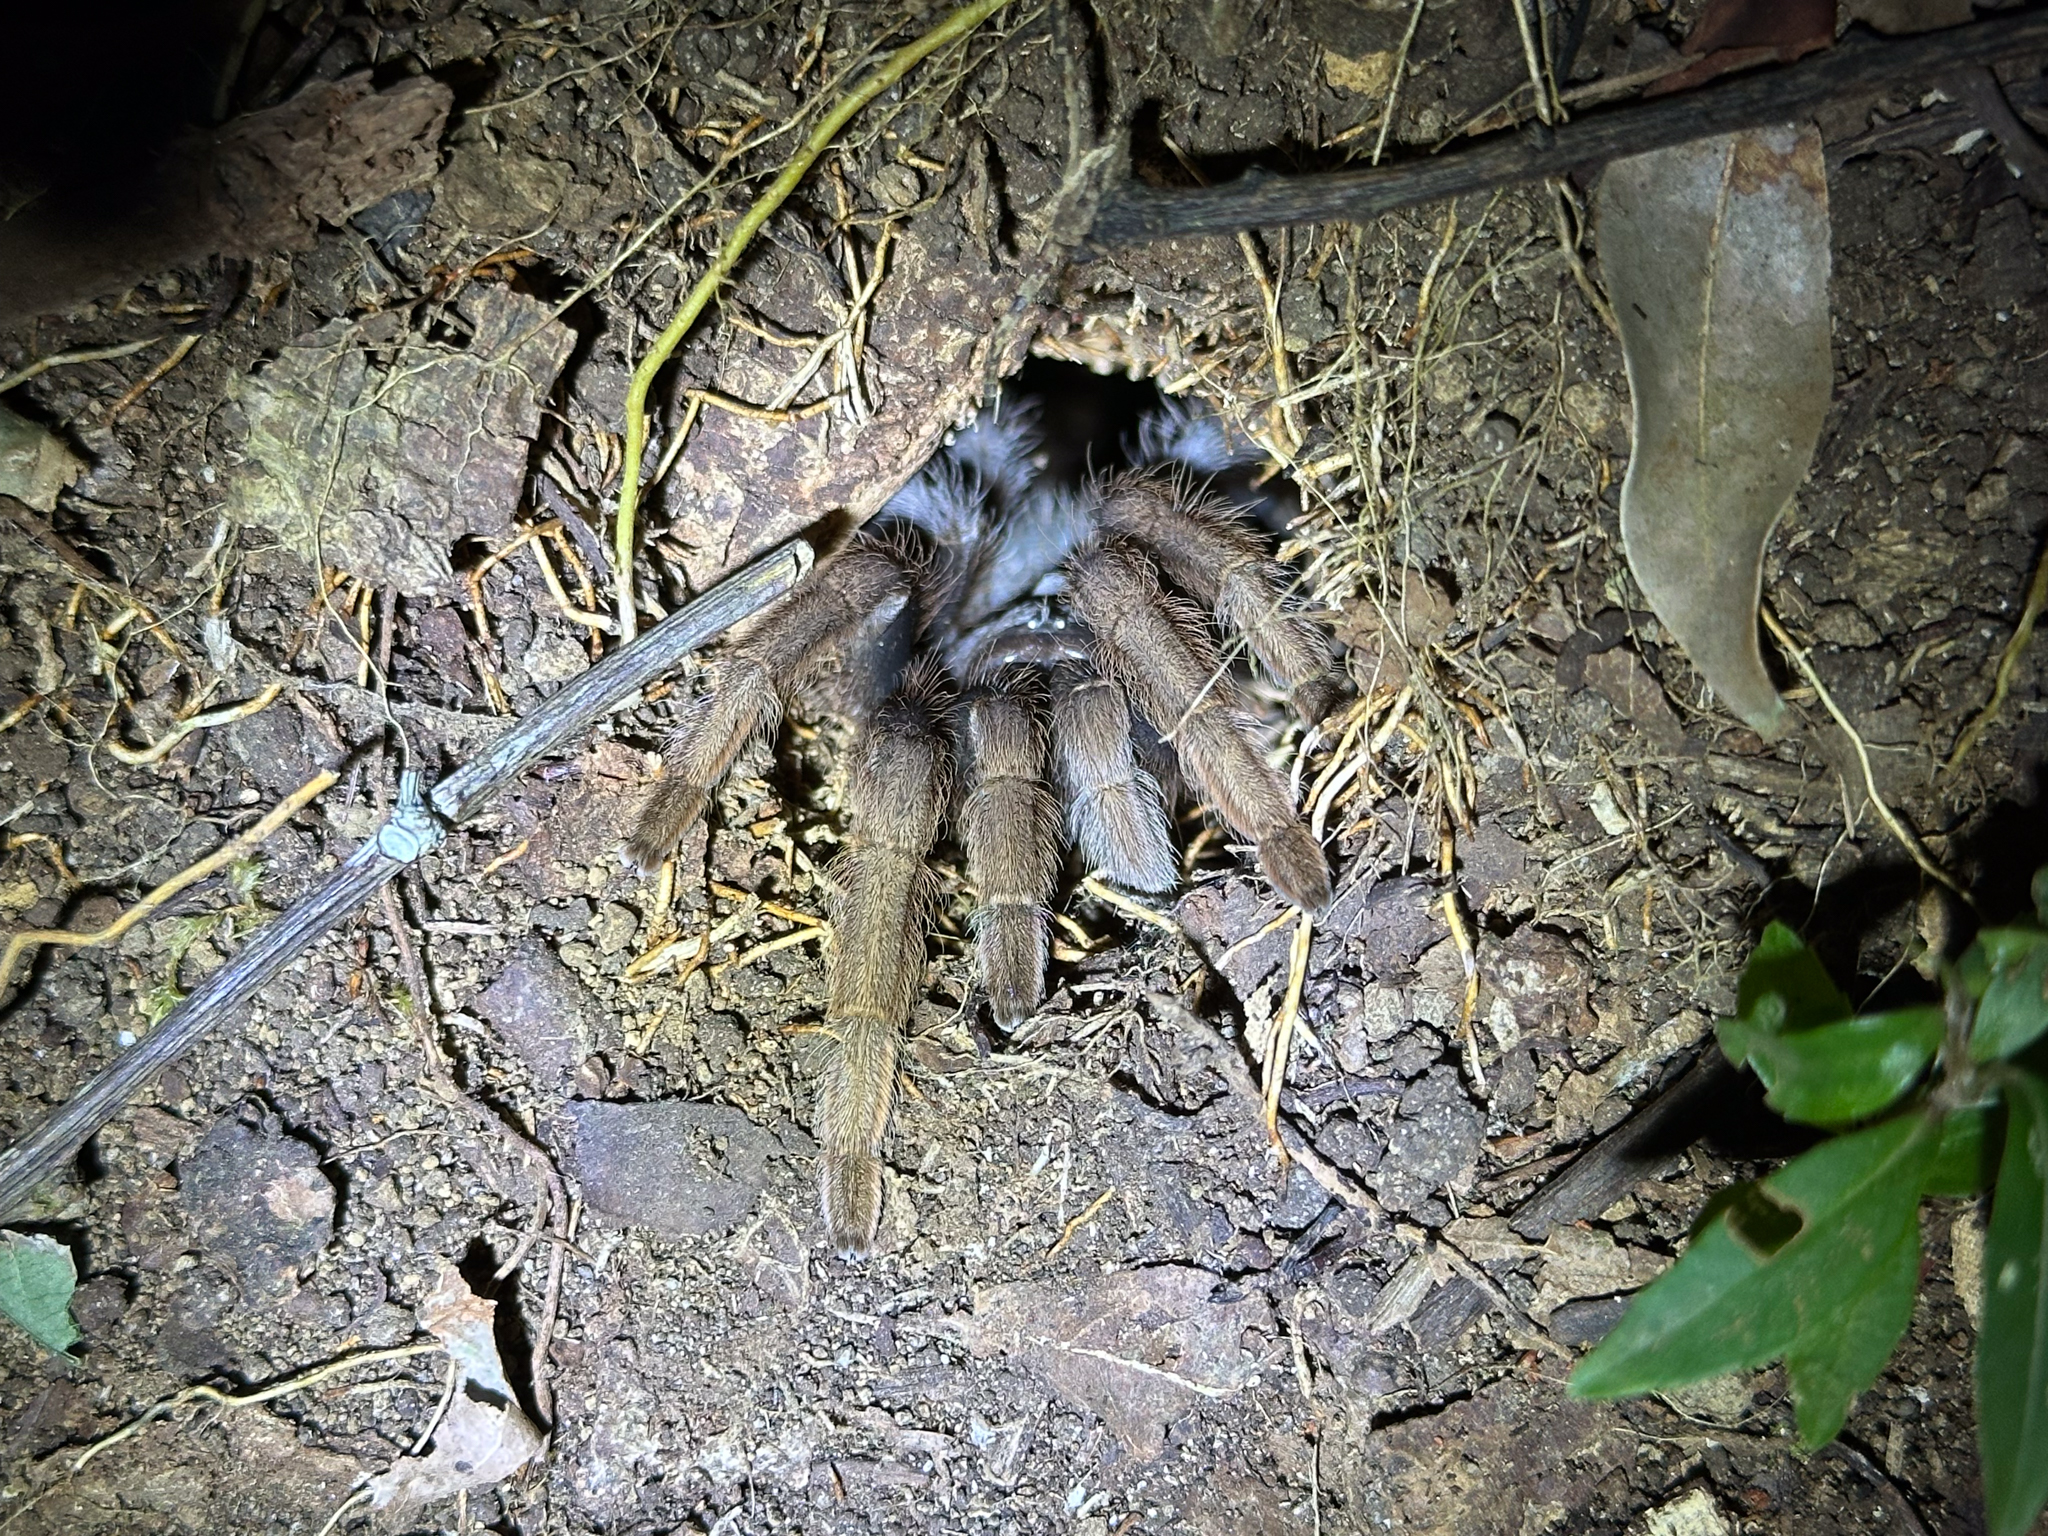
My non-birding friends appreciate pictures of the people, landscapes, meals, and mammals I saw along the way. I use my phone to snap shots to share with them, like this tarantula we saw during a night tour of the forest in Costa Rica.

After you get back from your first birding trip let me know about your experiences in the Comments section below. What suggestions do you have for future birding trip travelers?
If you enjoy seeing beautiful pictures of birds from around the world and reading about them Click Here to sign up for our mailing list. Members can post their own GreatBirdPics and learn more about bird photography techniques.

