Tweaking LR Classic Settings
I’ve mentioned many times that I prefer Lightroom for my photo editing. I use it primarily on my desktop computer, although when traveling I use it on my laptop. I use Lightroom Classic because it allows me to do most of the edits I want and it has a great database filing system so I can keep track of where my 23,853 images are stored.
The ones that I regularly use are the 13 different settings in the Basic panel and the additional settings for Sharpness, Noise Reduction, and Post-Crop Vignetting. Over time I have tweaked enough pictures to know what changes to these settings I prefer to enhance the quality of my images. Instead of making the same changes on every image time, I created a Preset which I apply directly upon Import. This modifies each image as it is brought into Lightroom with my preferred settings. Below is the list of settings I use:
Temp: 5,506
Tint: +2
Exposure: 0.00
Contrast: 0
Highlights: -55
Shadows: +27
Whites: +14
Blacks: -16
Texture: +8
Clarity: +11
Dehaze: +11
Vibrance: +5
Saturation: +2
Sharpening: 23
Noise Reduction: 0
Post-Crop Vignetting: -13
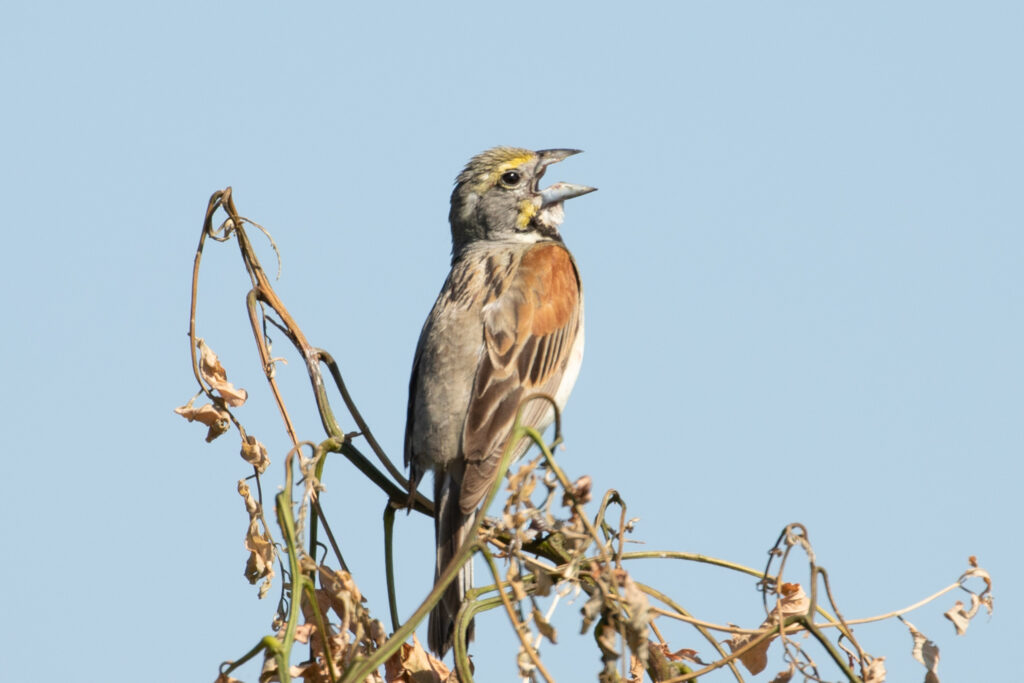
Here’s a look at the differences these settings make in a picture. Below is a picture of a Dickcissel with none of the settings changed from the default:

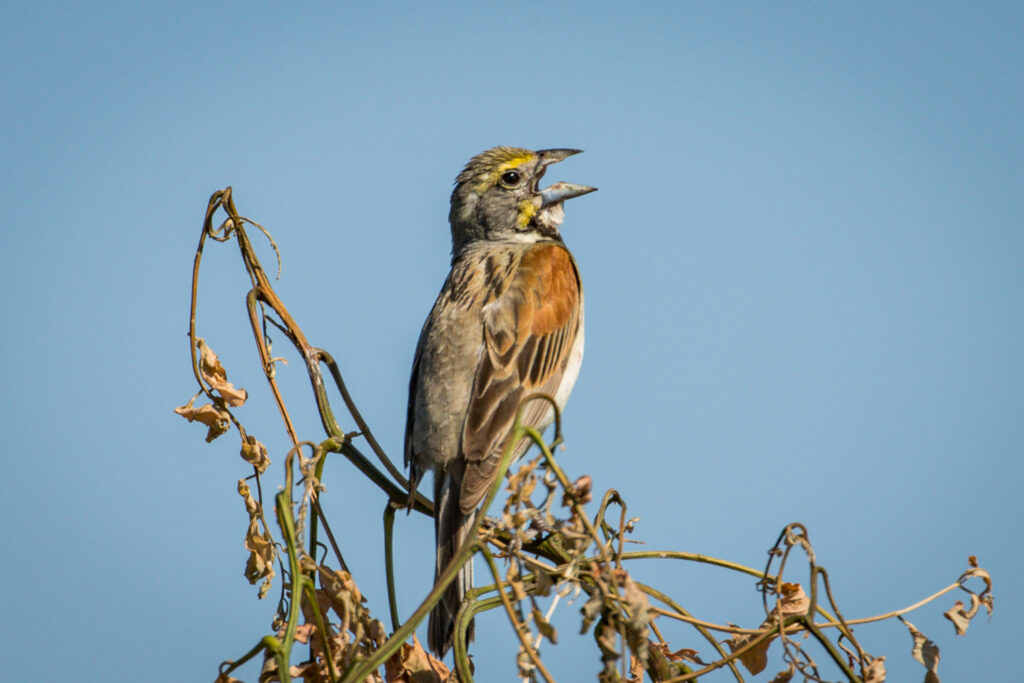
Next, the very same picture with the settings listed above:
Whereas the first picture looks washed out, the second picture looks more vibrant and colorful. Each of the 16 settings tweaks the image in different ways but when combined I think they help improve the quality of the image.
If you don’t have Lightroom I would highly recommend it. If and when you get it play around with these settings and then make your own preset, which can be applied during Import (or at any time afterwards).
Go Birding. Take Pics. Share Here. Repeat.
Mike
Click Here to learn more about GreatBirdPics. Members can post their own great bird pics, create and online gallery of their works, and regularly receive emails about bird photography.
