A week or so ago I shared some backlit photos and how I used Lightroom to post-process them into usable images. One of the most common problems with backlit images, particularly taken on gray and cloudy days, is a stark white sky. The image of a bird itself may be good, but the white surrounding it makes the whole picture difficult to look out. Take this picture of a Merlin eating some prey for example.
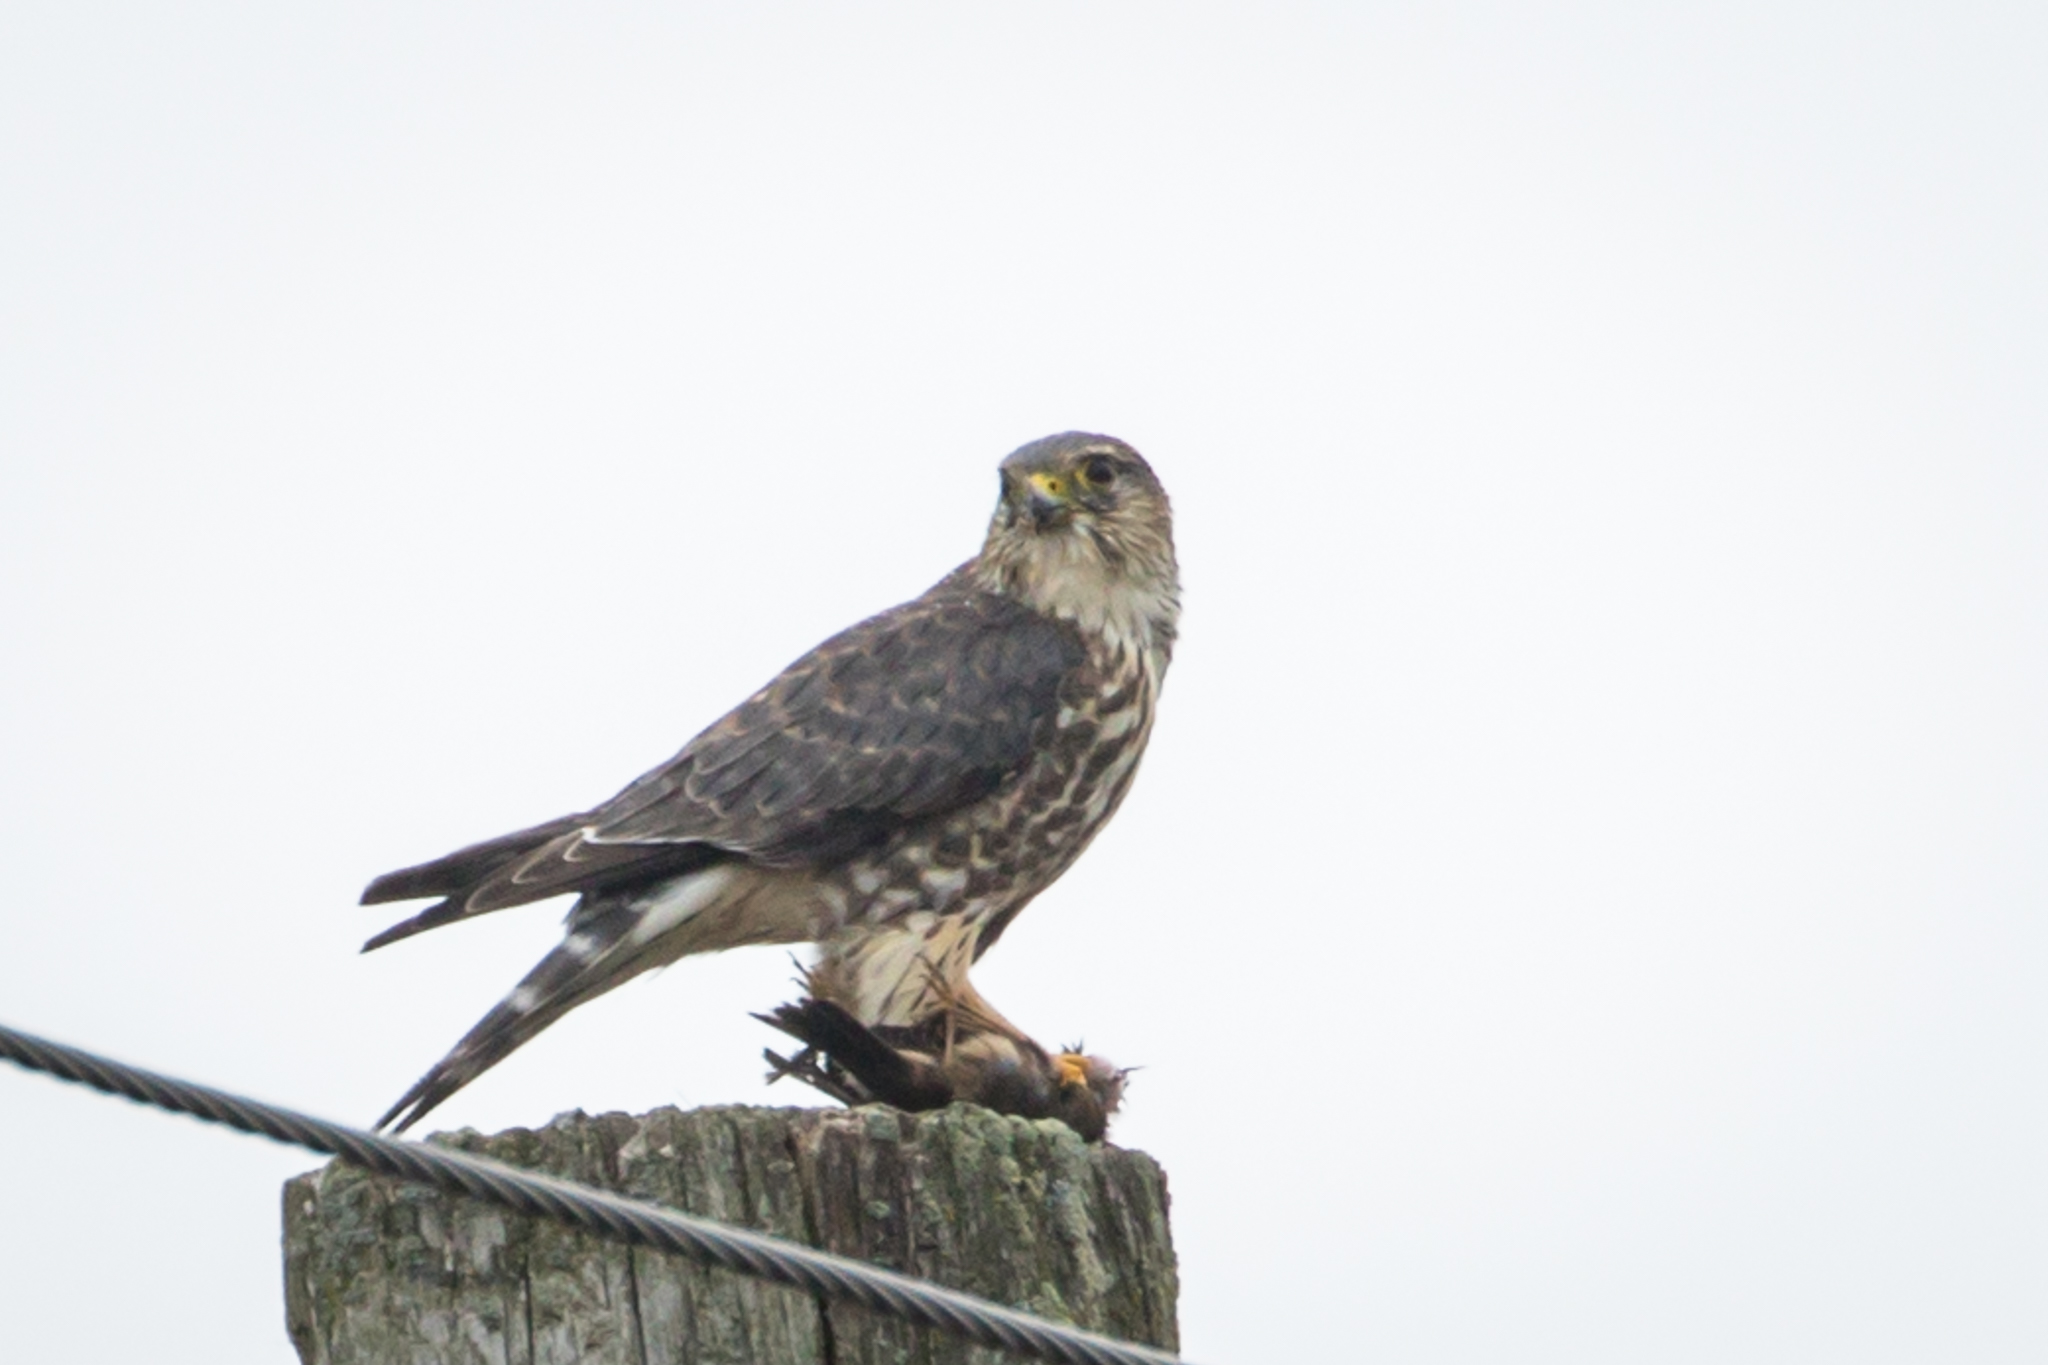
The Merlin looks good and has some detail in it but our mind wants to see a blue sky, not a white sky. The process described below works best with minimal interruptions in the white sky like branches that create many small white sky areas.
Go to the Develop mode and select Masking. It is the circle to the right of the three small icons and below the word Print – if you hover your cursor over the circle it will say “Masking”. Click the Background button. Then click the Background icon below the circle.

In our example, Lightroom has identified most of the background and colored it pink (the pink shows what has been masked, and what has been masked can be modified without affecting anything else.

Note that the masking didn’t include the area under the tail of the Merlin because it is still white. We can add more masking by hand. A small box has opened to the left of the right panel. “Mask 1” inside the box is listed as the “Background 1” mask you just created. Under Background 1 click the Add button and up pops another menu. Select “Brush” and a circle will appear on the screen (you can adjust the size of the circle using the [ and ] keys). Place the circle in the remaining white area beneath the tail and hold down the cursor button to paint it all pink.


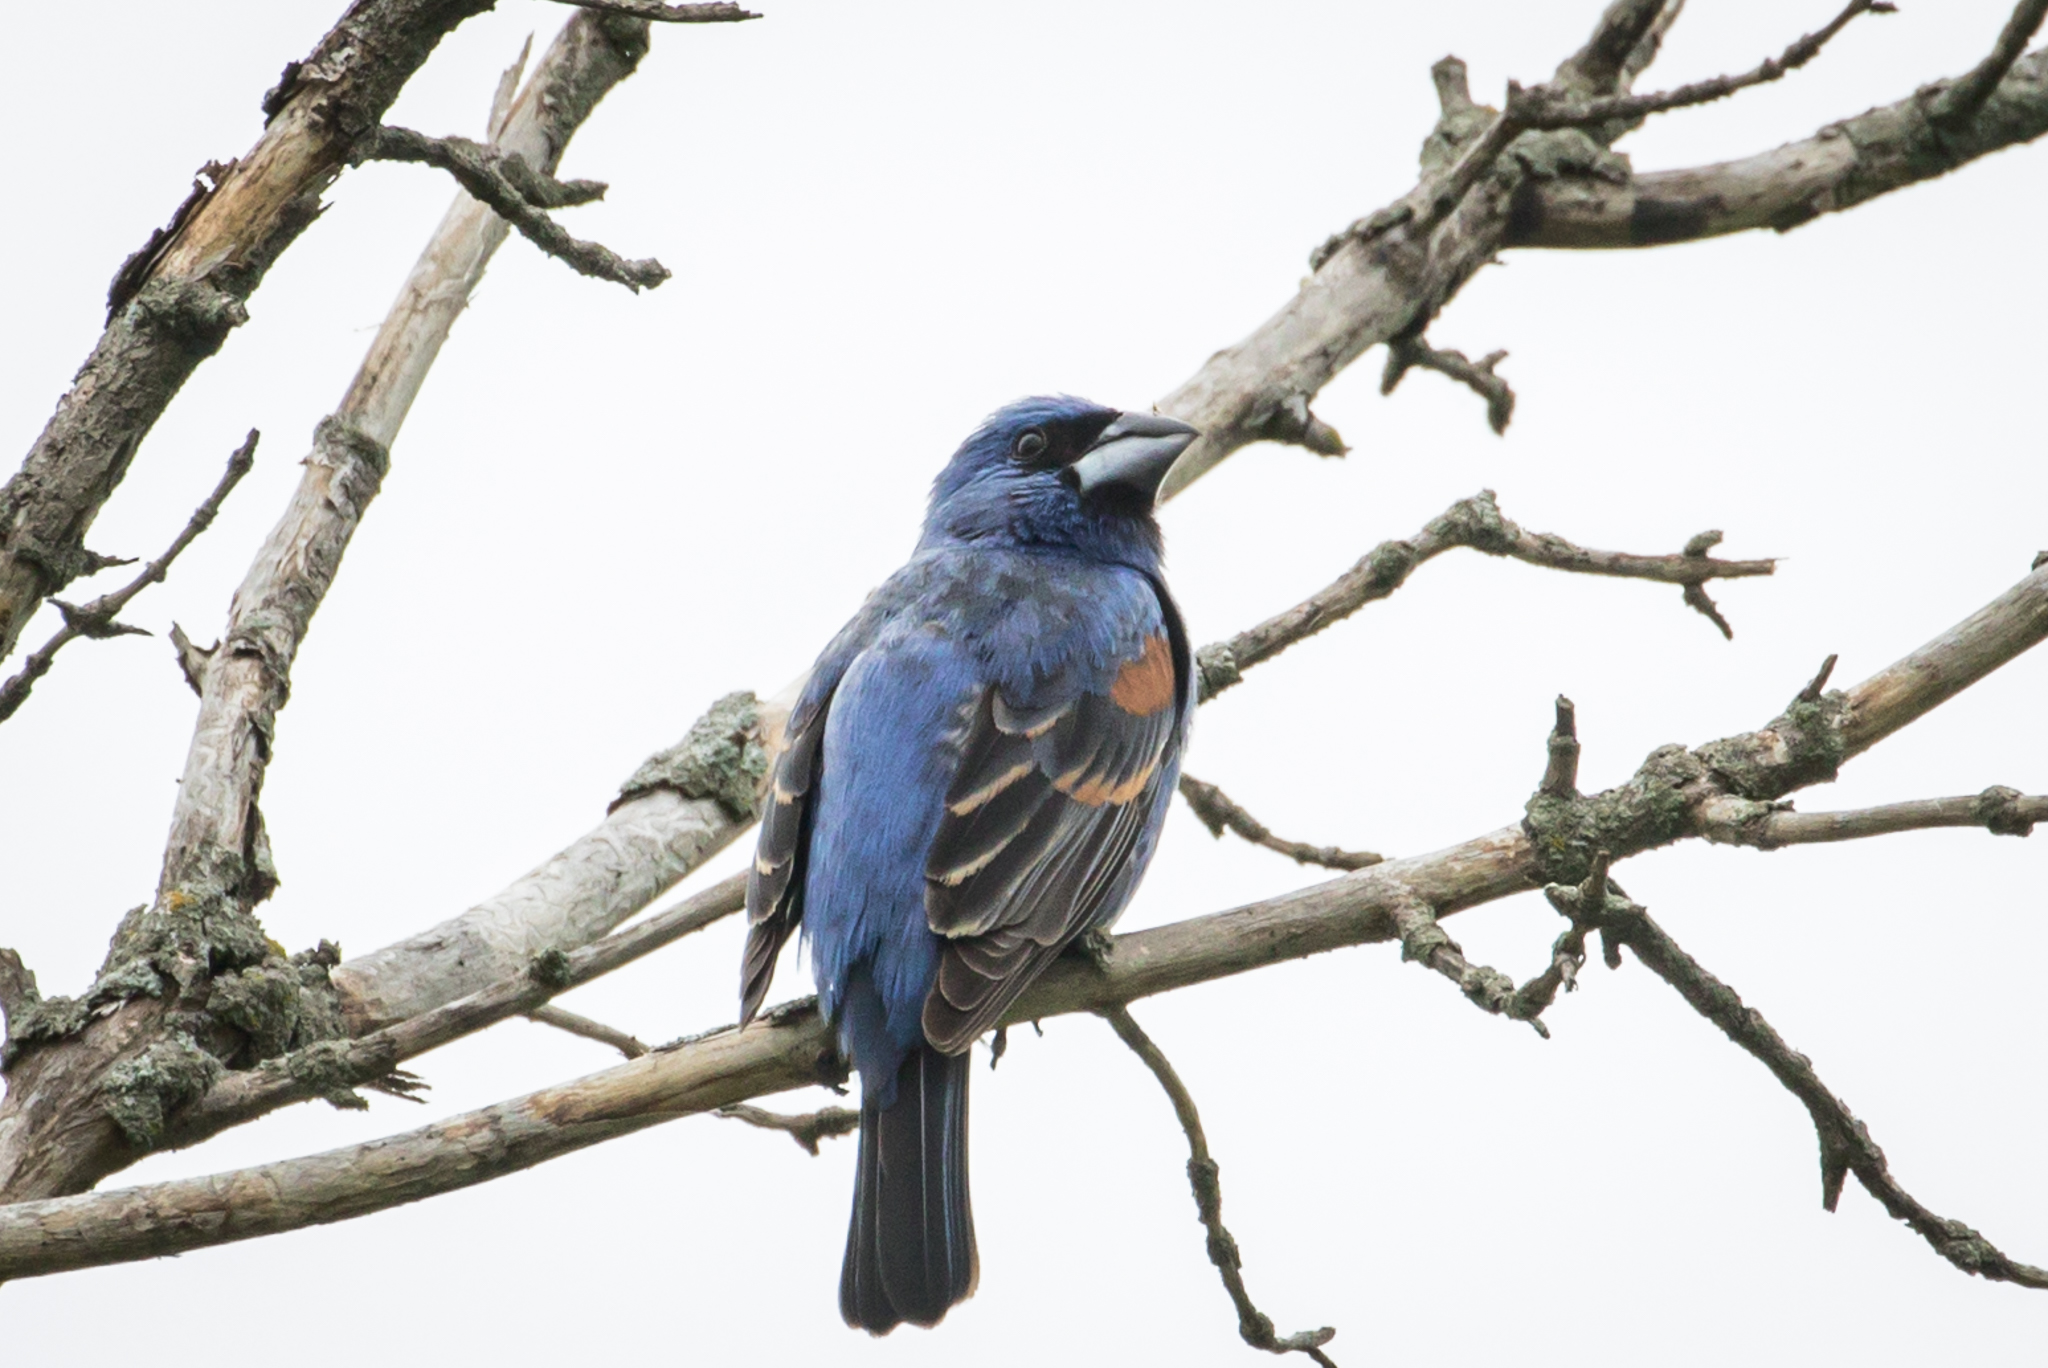
Note: if there are a lot of branches in the background there would be too many white areas to paint by hand, like in this picture of a Blue Grosbeak below.
Back to our Merlin example, now that most of the white sky is masked (in pink) we can now modify it.

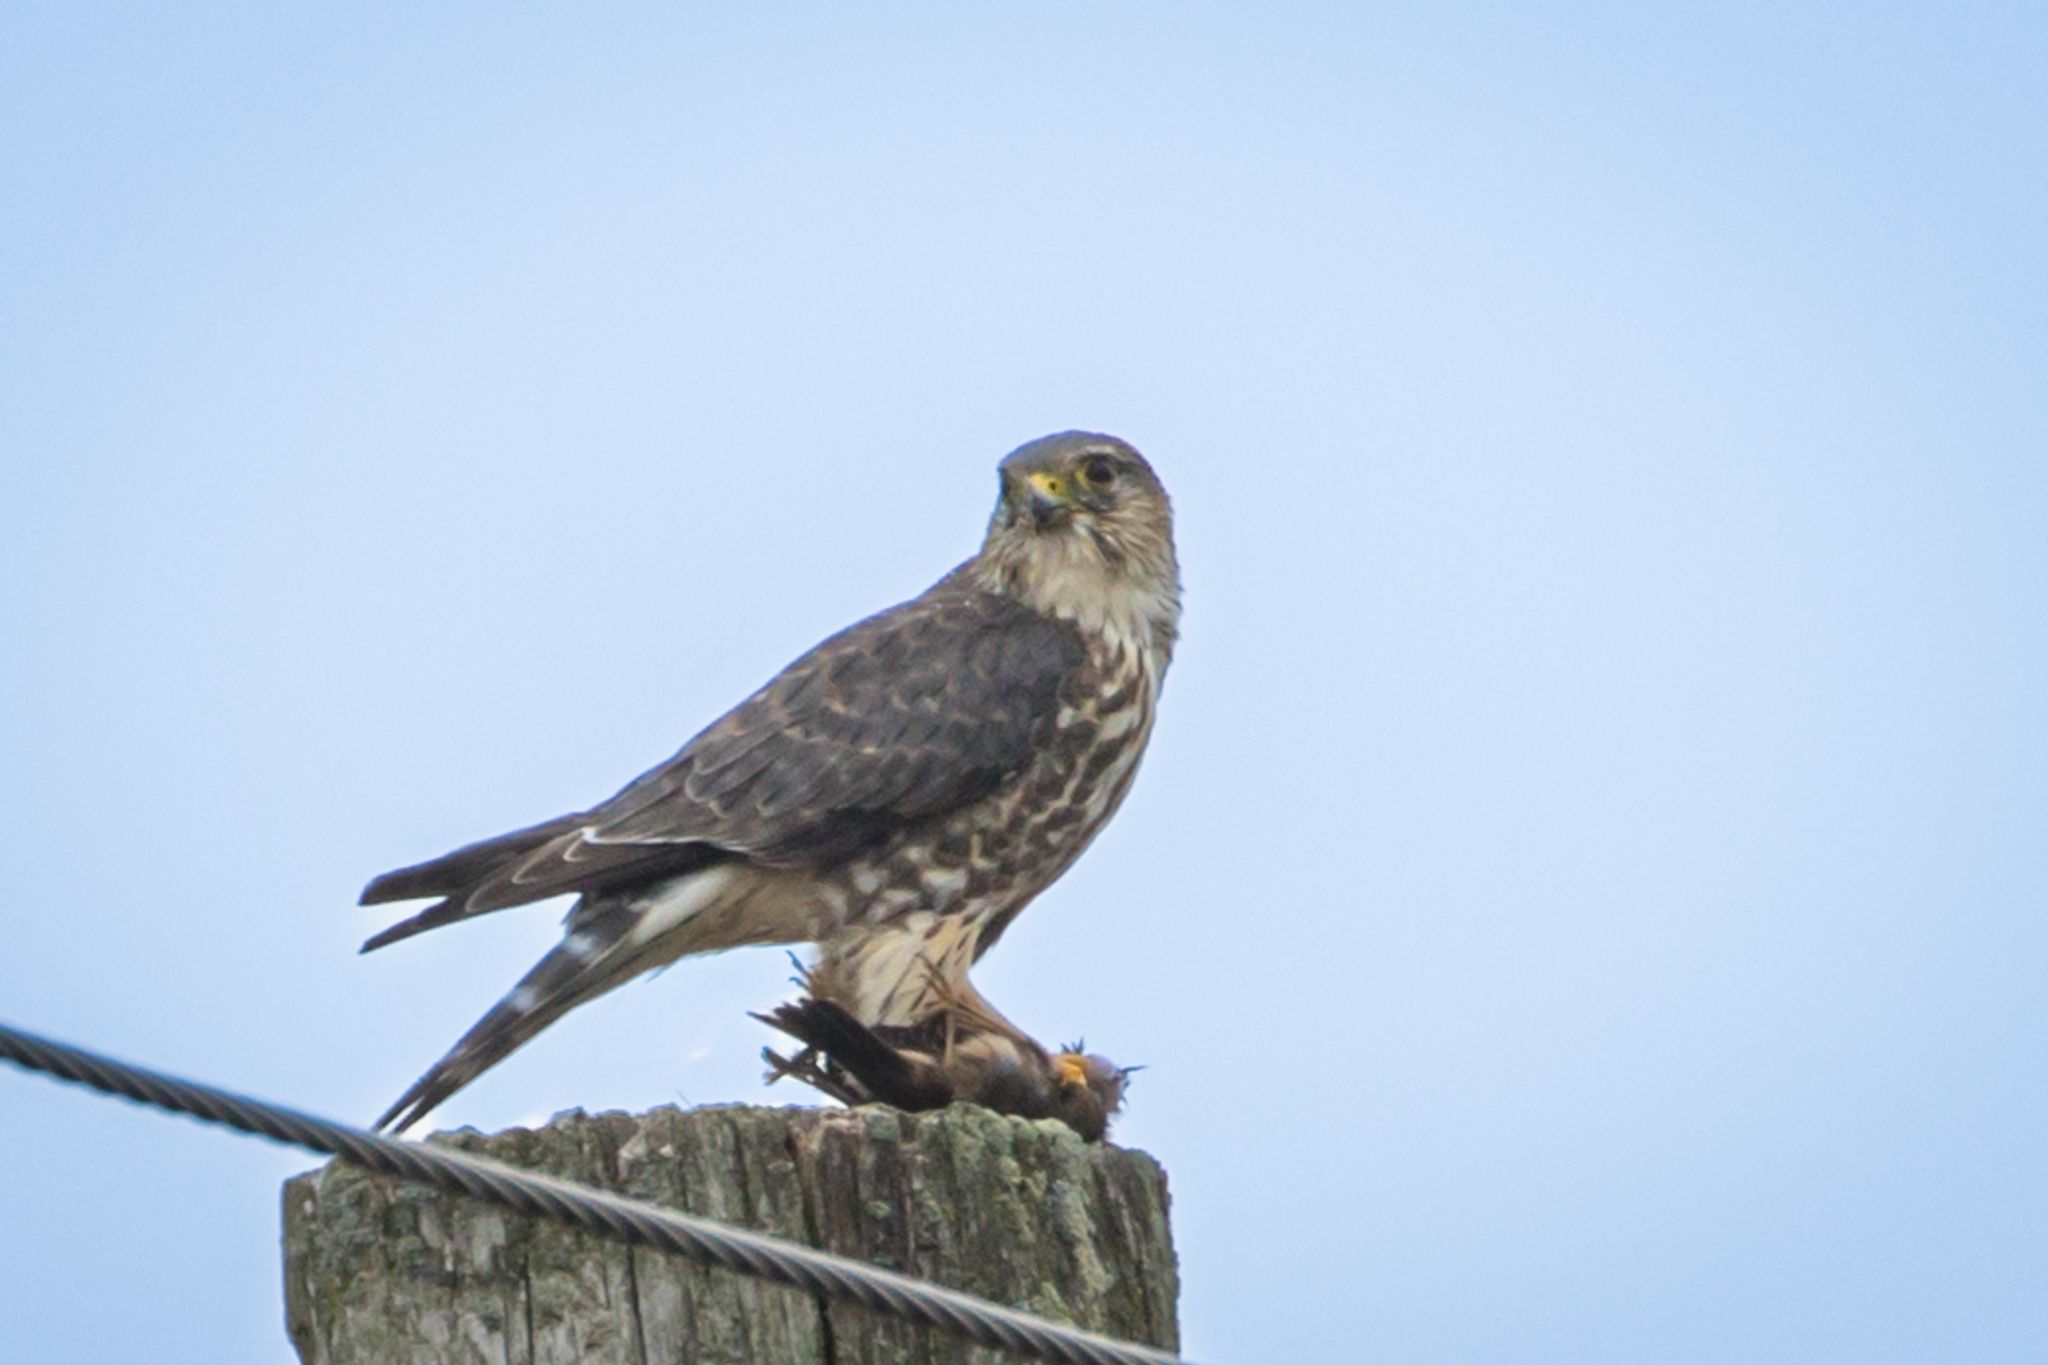
Go to the Color group on the right panel and move the Temp slider to the Blue/left. In this case I moved it to -55.

Here’s the final product; a blue sky now surrounds the Merlin. Other than that there is no difference in the image, but it looks more “natural” than a white sky.
Do you have other tips on how to color a white background? I’d love to hear them.
If you enjoy seeing beautiful pictures of birds from around the world and reading about them Click Here to sign up for our mailing list. Members can post their own GreatBirdPics and learn more about bird photography techniques.